|
|
||
|---|---|---|
| .. | ||
| 5601505dd01d5.png | ||
| 56015038cc6aa.png | ||
| README.md | ||
README.md
首先新建一个 eui 项目,使用:
egret create HelloEUI --type eui
下面的教程里使用该项目的默认皮肤设置。可以在示例项目的
eui_skins文件夹下找到默认皮肤的 exml 文件。
按钮控件对应的类是 eui.Button。eui.Button 继承自 eui.Component类,因此它可以定制皮肤。要显示按钮通常要给按钮指定皮肤,按钮的代码如下:
var button = new eui.Button();
button.width = 100;
button.height = 40;
button.label = "Confirm";
button.skinName = "ButtonSkin.exml";
this.addChild(button);
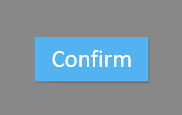
按钮的效果如下图所示:
按钮的皮肤通常需要有 up、down、disabled 等状态。如果按钮没显示出来,请确认:1,是否正确配置了皮肤,2,组件皮肤和相关素材是否在项目中.
按钮可以设置禁用,禁用的按钮会以另外一种样式显示(进入disabled视图状态),且不再响应交互,设置enabled属性可以控制是否禁用:
button.enabled = false;
在按钮上,可以添加事件侦听,判断当用户按下按钮后,下一步要执行的方法:
button.addEventListener(egret.TouchEvent.TOUCH_TAP,this.btnTouchHandler,this);

private btnTouchHandler(event:egret.TouchEvent):void {
        console.log("button touched");
}
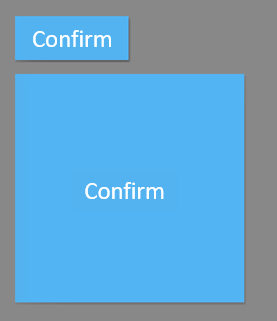
可以在按钮上设置宽度和高度,按钮上的文本会自动居中,以适应不同的按钮尺寸:
var button = new eui.Button();
button.width = 100;
button.height = 40;
button.label = "Confirm";
this.addChild(button);
var button2 = new eui.Button();
button2.y = 50;
button2.width = 200;
button2.height = 200;
button2.label = "Confirm";
this.addChild(button2);
var button = new eui.Button();
(<eui.Label>button.labelDisplay).size = 50;
因为labelDisplay是个接口,所以需要使用eui.Label转换。

